---
url: >-
https://acquirer-api-docs-v4-en.pingpongx.com/en/notes/integrate/prestashop/index.md
description: >-
This document introduces the installation steps for the Prestashop-PPPay
plugin, suitable for Prestashop stores version 1.7.6.6 and above. It covers
installation prerequisites, specific installation process, and methods for
configuring merchant parameters. It also provides integration processes for
sandbox and production environments, including test card numbers, screenshot
verification, and other key steps to ensure payment functionality is correctly
integrated into the store.
---
# Prestashop-PPPay Plugin Installation
## Installation Prerequisites
> - Prestashop version = 1.7.6.6
> - php version >= 5.6 && <= 7.3
> - MySQL version 5.6, 5.7
> - chmod 777 /webRoot/Prestashop/var/logs
The following are non-essential settings, if 504 errors occur, check the following options
- [ ] php ini execution timeout
- [ ] nginx or apache execution timeout settings
payResultUrl
---
::: danger Note
1. Order numbers under the same accId cannot be duplicated and must be monotonically increasing, otherwise order status issues will occur;
2. Orders from different databases cannot share the same accId;
3. If transactions have already occurred under an accId, before installing the plugin, the id starting value should be set to greater than the current maximum order id;
4. When resetting the database, store, or migrating accId to another store, check the maximum order number under the accId.
:::
### Plugin Download
ps_pingpongpay.zip
---
## Installation Process
1. Login to website backend
`Select Modules -> Module Manager -> Upload Module `
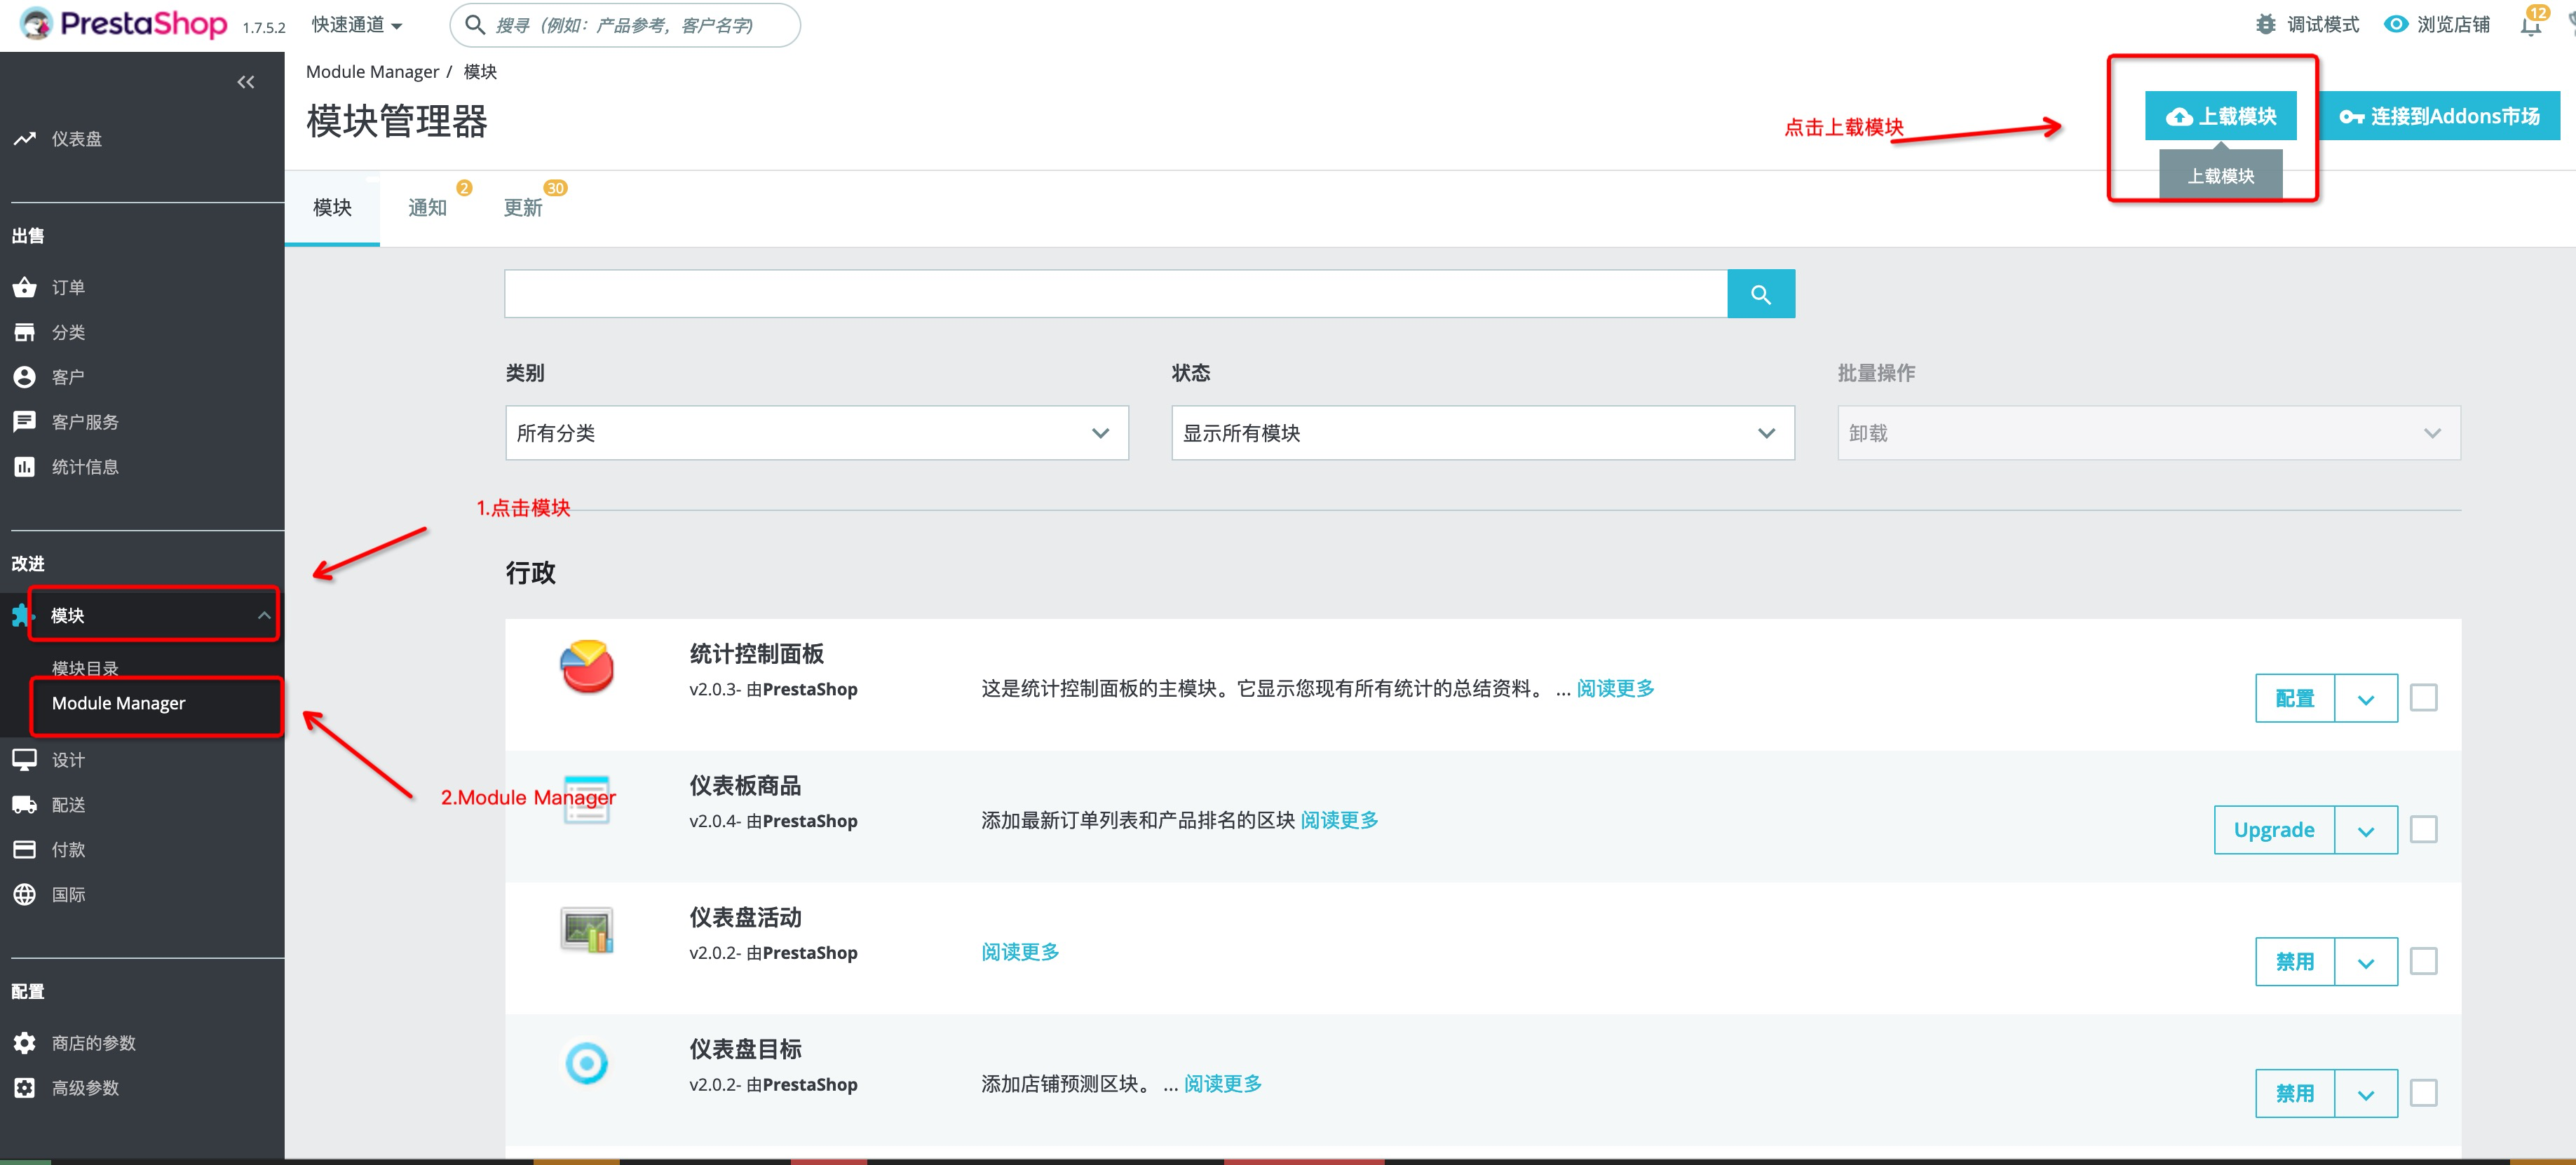
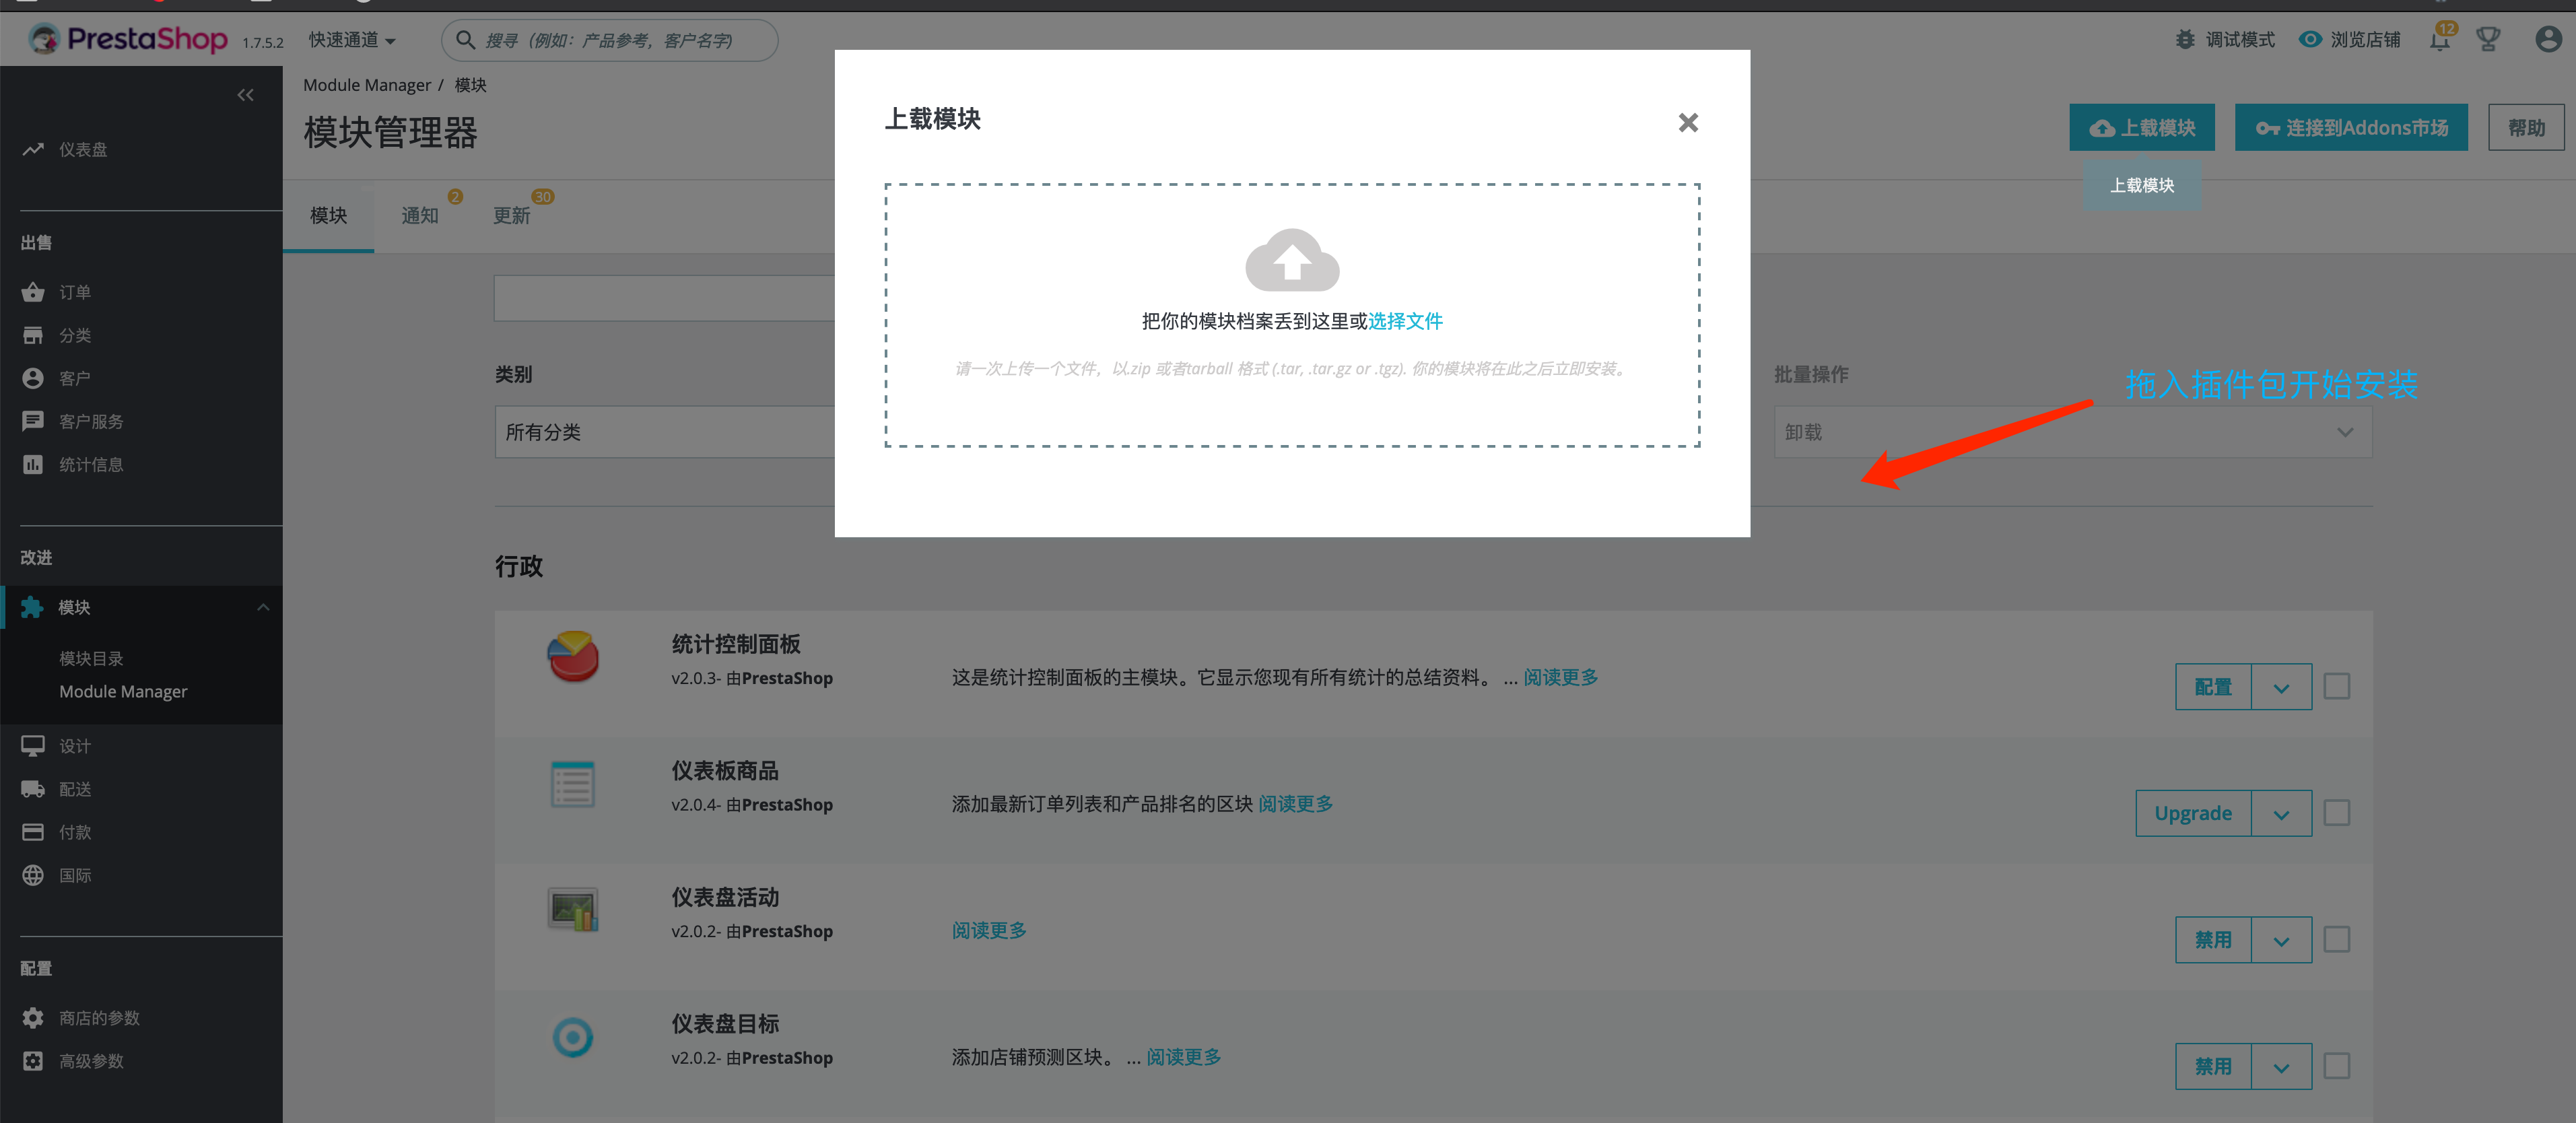
3. Drag the plugin package into the upload dialog box and wait for unpacking and installation to complete
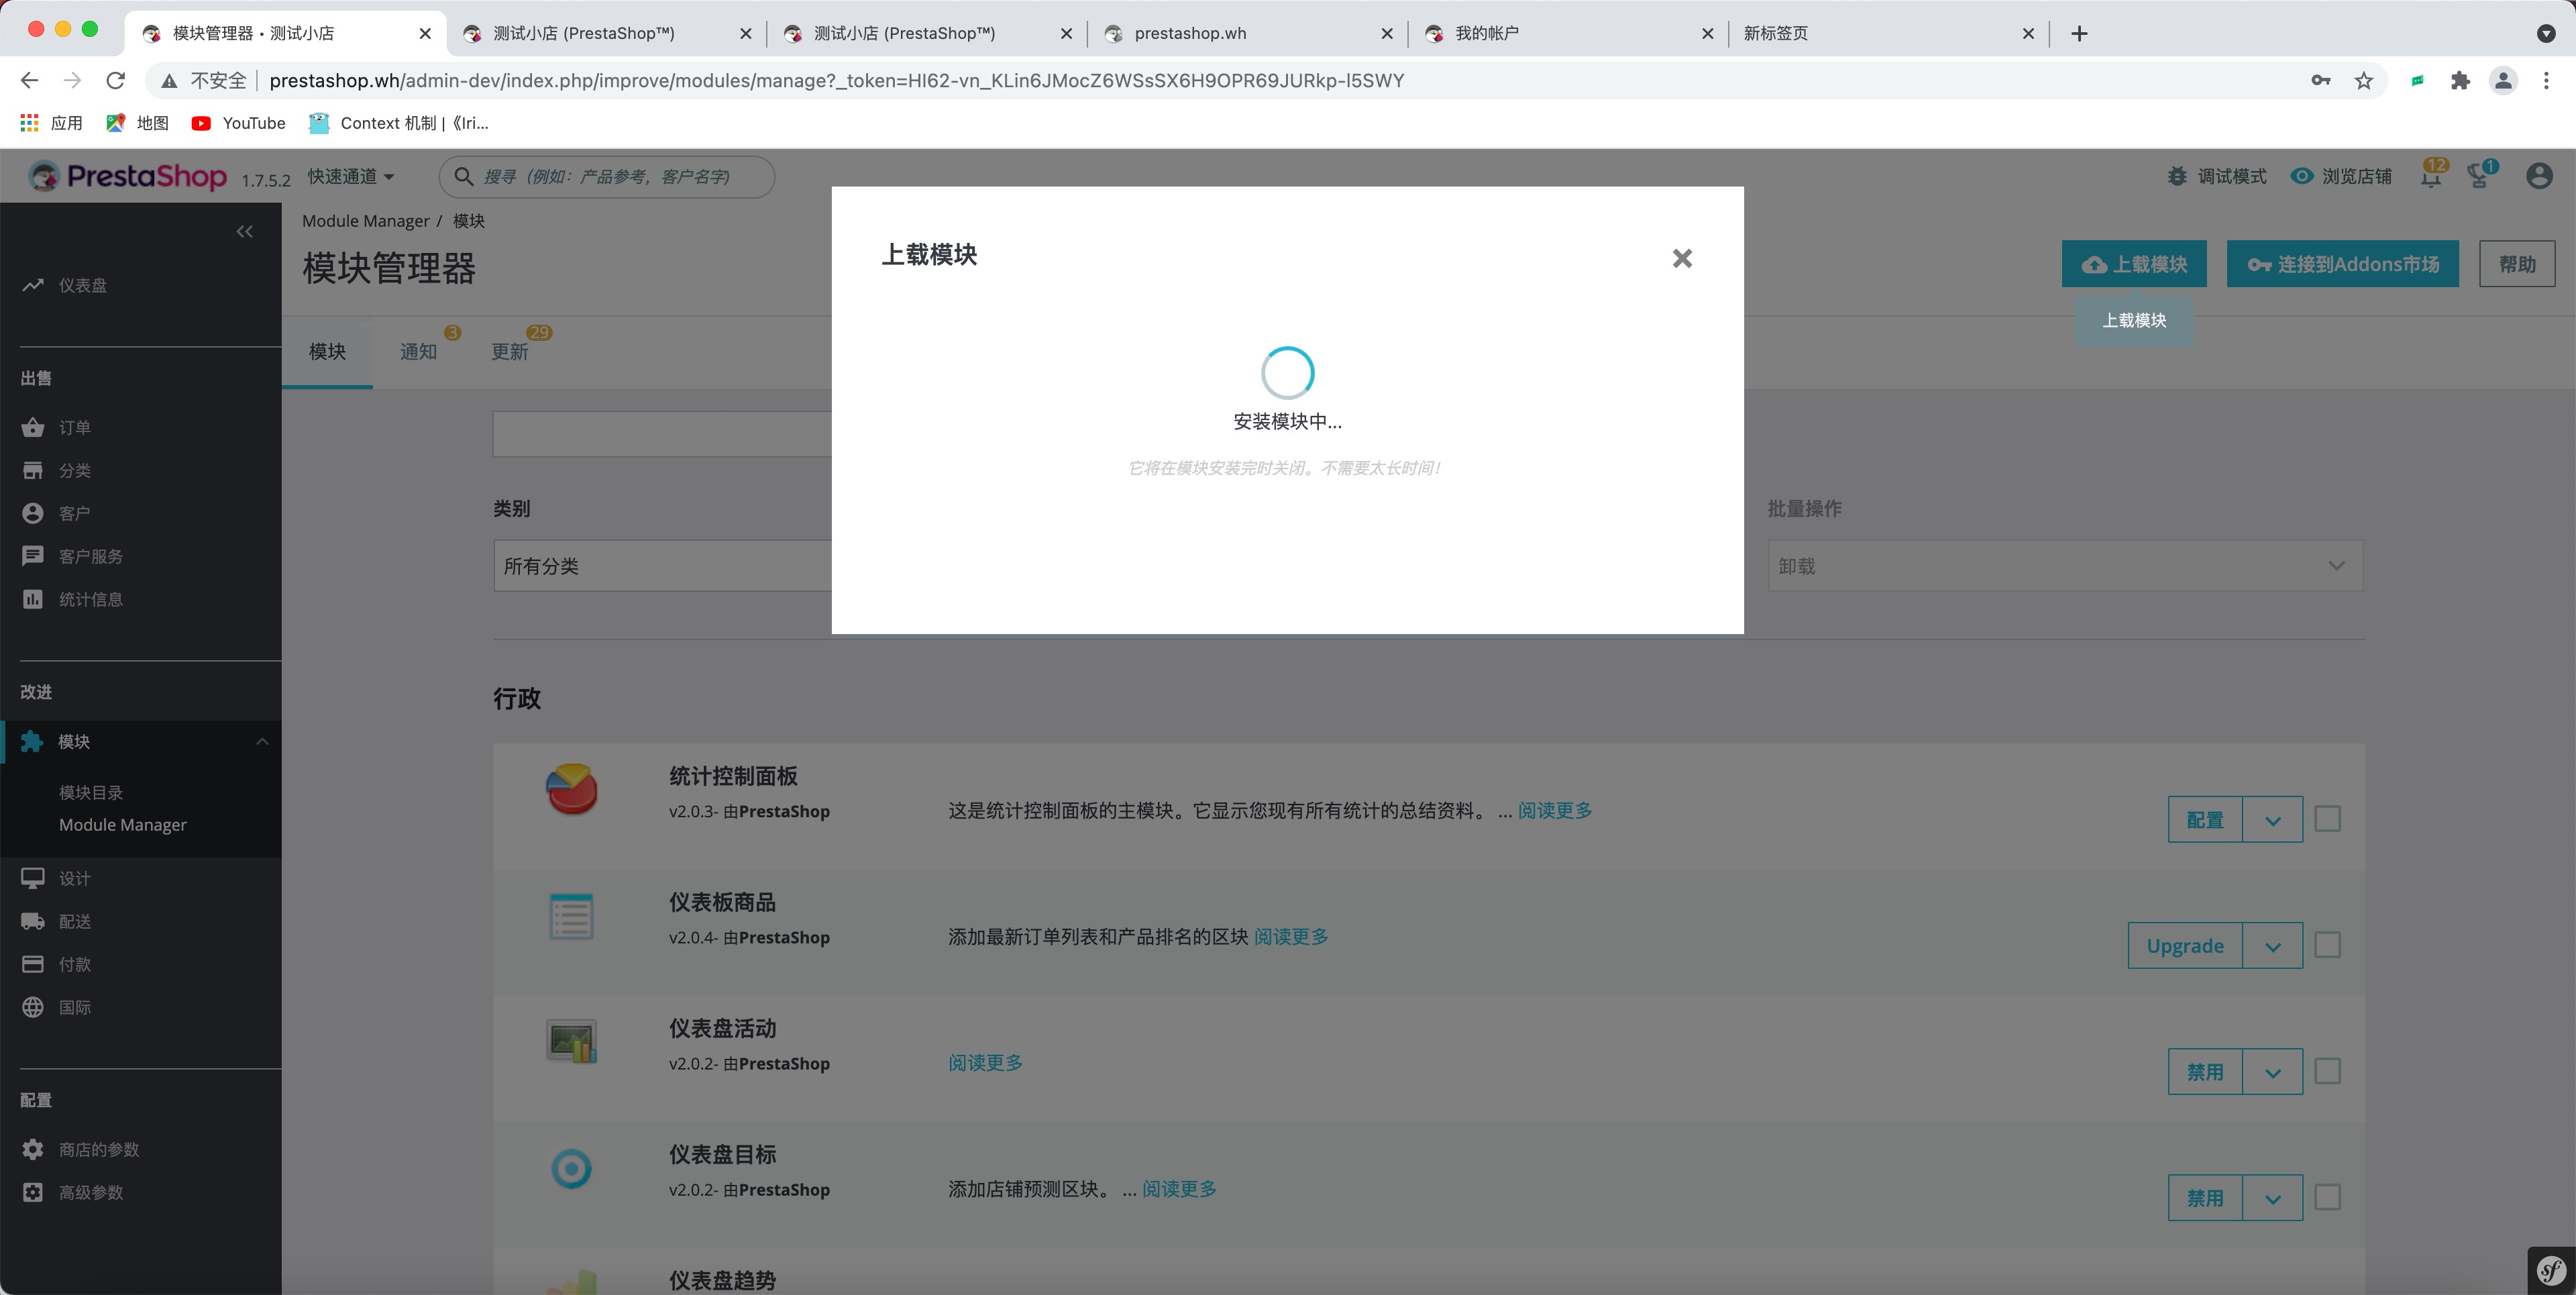
4. Wait for installation to complete
5. After installation is complete, a configuration button appears. Click Configuration to start configuring merchant parameters
6. Merchant parameter configuration
```text title="Merchant Environment Configuration Parameters" line-numbers
# [!code highlight] PingPong payment environment address
Sandbox environment https://sandbox-acquirer-payment.pingpongx.com
Production environment https://acquirer-payment.pingpongx.com
# [!code highlight] Sandbox environment store parameters
clientId: 2018092714313010016
accId: 2018092714313010016291
salt: F78BC96A55548B2319EE68E0
# [!code highlight] Sandbox environment test card numbers
Card number: 4200000000000000
Expiry: 12/22
cvv: 123
Others can be filled randomly, cvv must be 3-digit pure numbers
```
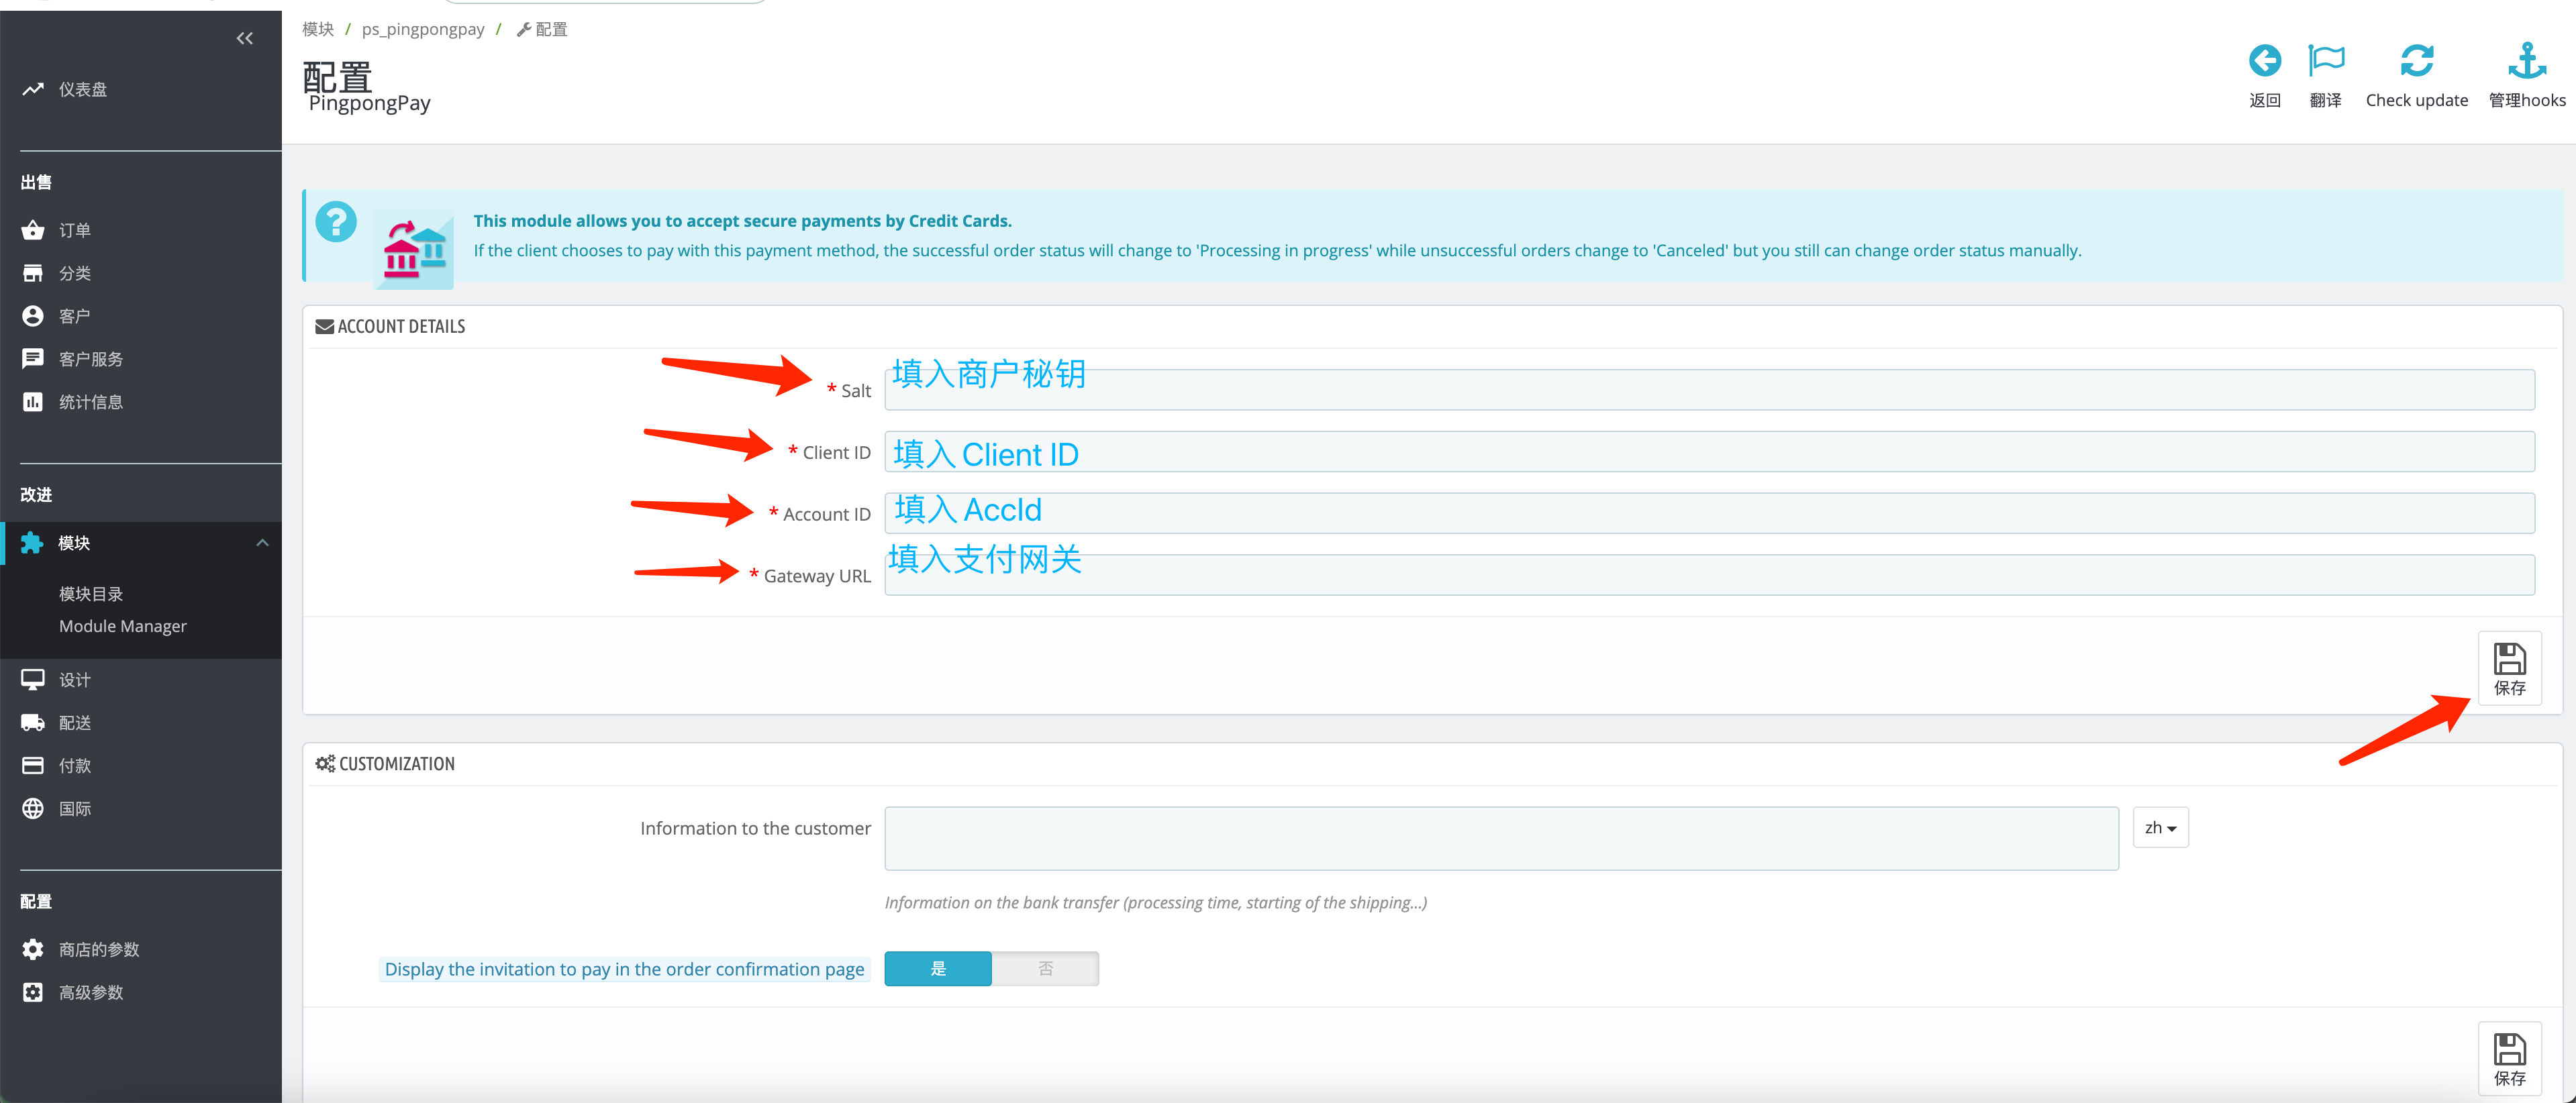
7. Click Save to save merchant parameters. Installation is complete and payment process can be tested
## Environment Parameters
### Sandbox Environment Store Parameters
```text title="Sandbox Environment Store Parameters" line-numbers
# [!code highlight] PingPong sandbox environment store parameters
clientId: 2018092714313010016
accId: 2018092714313010016291
salt: F78BC96A55548B2319EE68E0
```
### Sandbox Environment Test Card Numbers
```text title="Sandbox Environment Test Card Numbers" line-numbers
# [!code highlight] Standard test card number
Card number: 4200000000000000
Expiry: 12/22
cvv: 123
cvv must be 3-digit pure numbers
# [!code highlight] 3DS transaction test card number
3DS transaction card: 4711100000000000
```
### Environment Address
```text title="PingPong Payment Environment Address" line-numbers
# [!code highlight] Sandbox environment address
Sandbox environment https://sandbox-acquirer-payment.pingpongx.com
# [!code highlight] Production environment address
Production environment https://acquirer-payment.pingpongx.com
```
## Integration Process
### Sandbox Environment Integration
1. Install plugin according to file instructions.
1. After plugin installation is complete, payment self-testing is required, and the following items must be completed:
- [ ] Screenshot the card number input page
- [ ] Screenshot the final redirect page after payment completion
- [ ] Send screenshots to the integration group and notify technical support
If any issues arise during the installation process, you can seek technical support in the integration group.
---
Notes:
> In sandbox environment, no actual deduction will be made from cardholders. Shipping after payment will cause losses, and not shipping may result in complaints from cardholders. Therefore, during integration, operations must be handled with caution. After integration testing is passed, the payment channel should be immediately closed and wait for production environment launch before opening.
---
### Production Environment Integration
- After the plugin completes the first round of sandbox environment integration under technical support, it will enter the website information and account review stage. After passing the review, production environment parameters will be issued.
- After obtaining production parameters, complete the following items
- [ ] Replace sandbox environment parameters with production parameters.
- [ ] Self-test payment and complete screenshots
- [ ] Prepare a $1 product link. Send screenshots and product link, and notify technical support. The customer/technical support will initiate a real transaction test on this product link to verify the integration results and website payment availability.
- After completing the real transaction test, merchants need to initiate a refund to verify the refund process.
- After completing the above process, website integration ends, payment channel officially goes live, and payment becomes available.
### Production Environment Configuration
### Review Process
Receive notification from the integration group or business/customer that the review has passed.Login to [Merchant Backend](https://pay.pingpongx.com/aq/websiteList)
```text:line-numbers title="urls/merchant-backend.txt"
https://pay.pingpongx.com/aq/websiteList
```
### Go to Website List
As shown in the figure, go to Group Management -> View Details -> Website List
### Group Management
> - ⚫ Select [Website Management] - [Group Management] from the menu to enter the group management page
> - ⚫ This function allows the current merchant to click "Create Group" to create a new group; the system will provide a default group by default
> - ⚫ Websites are under groups.
> - ⚫ Click "View Details" to enter the group details page, where you can modify the group name, view and copy the ID number, and view websites under the group.
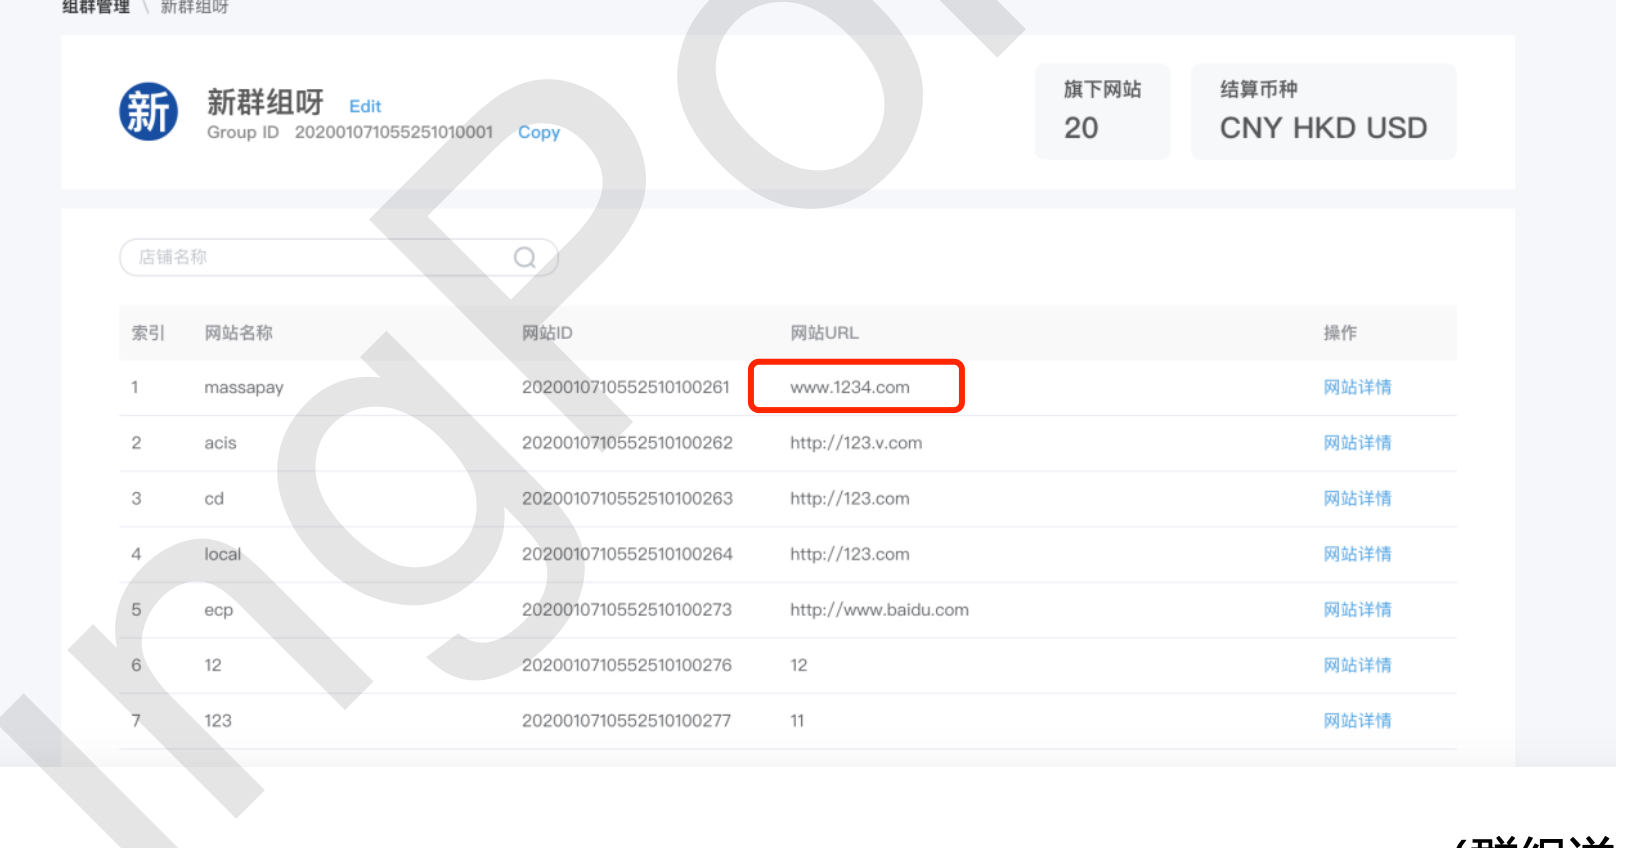
### Select Website
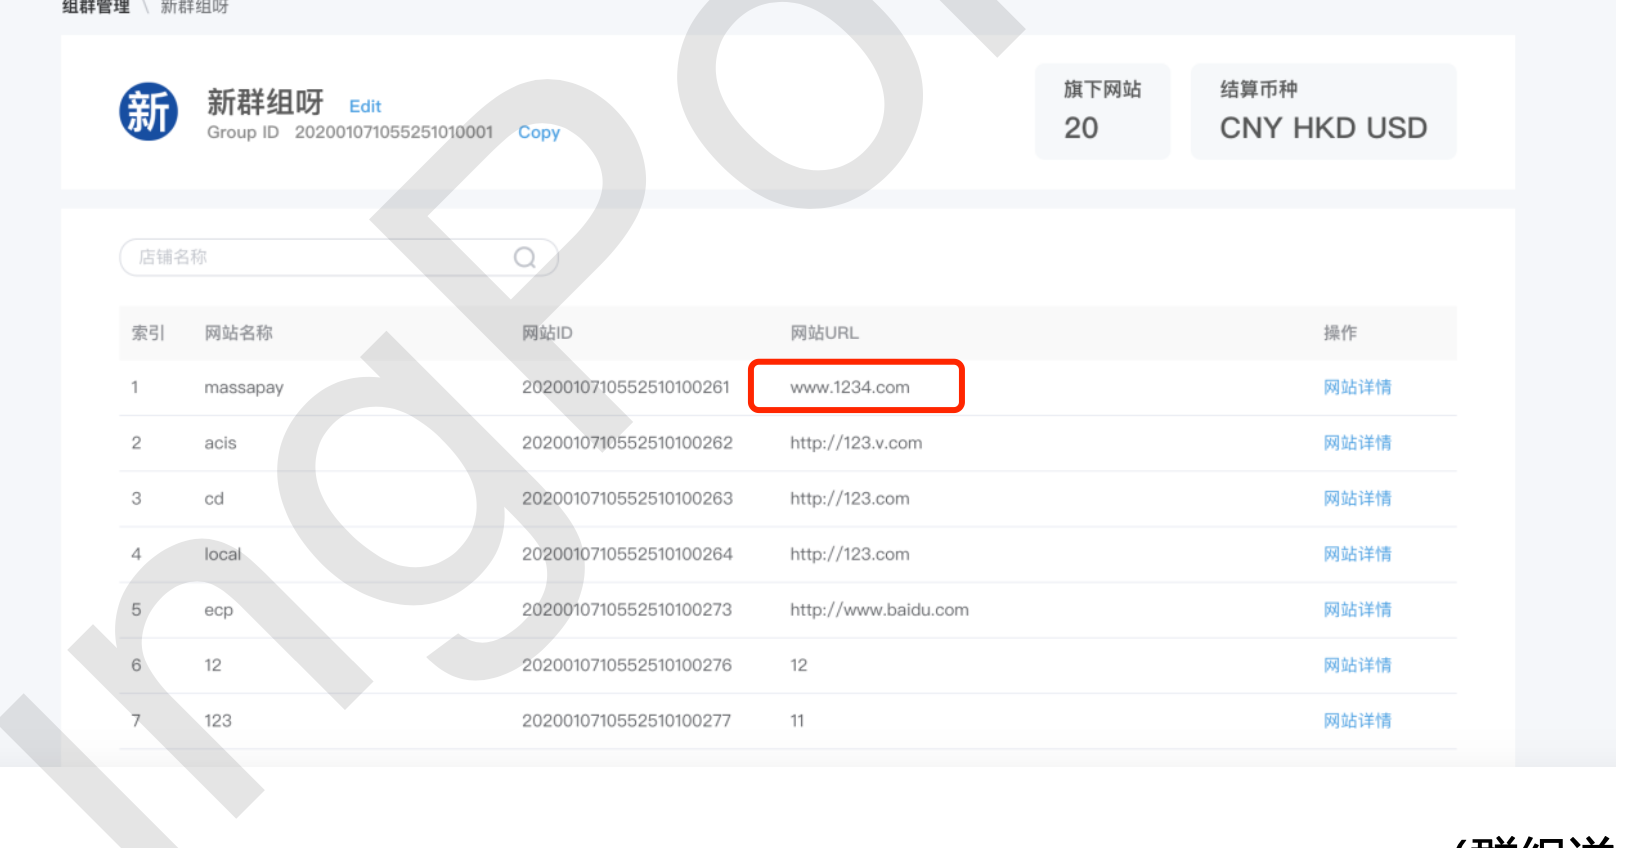
Select the corresponding website from the list based on the domain name of the current integration website
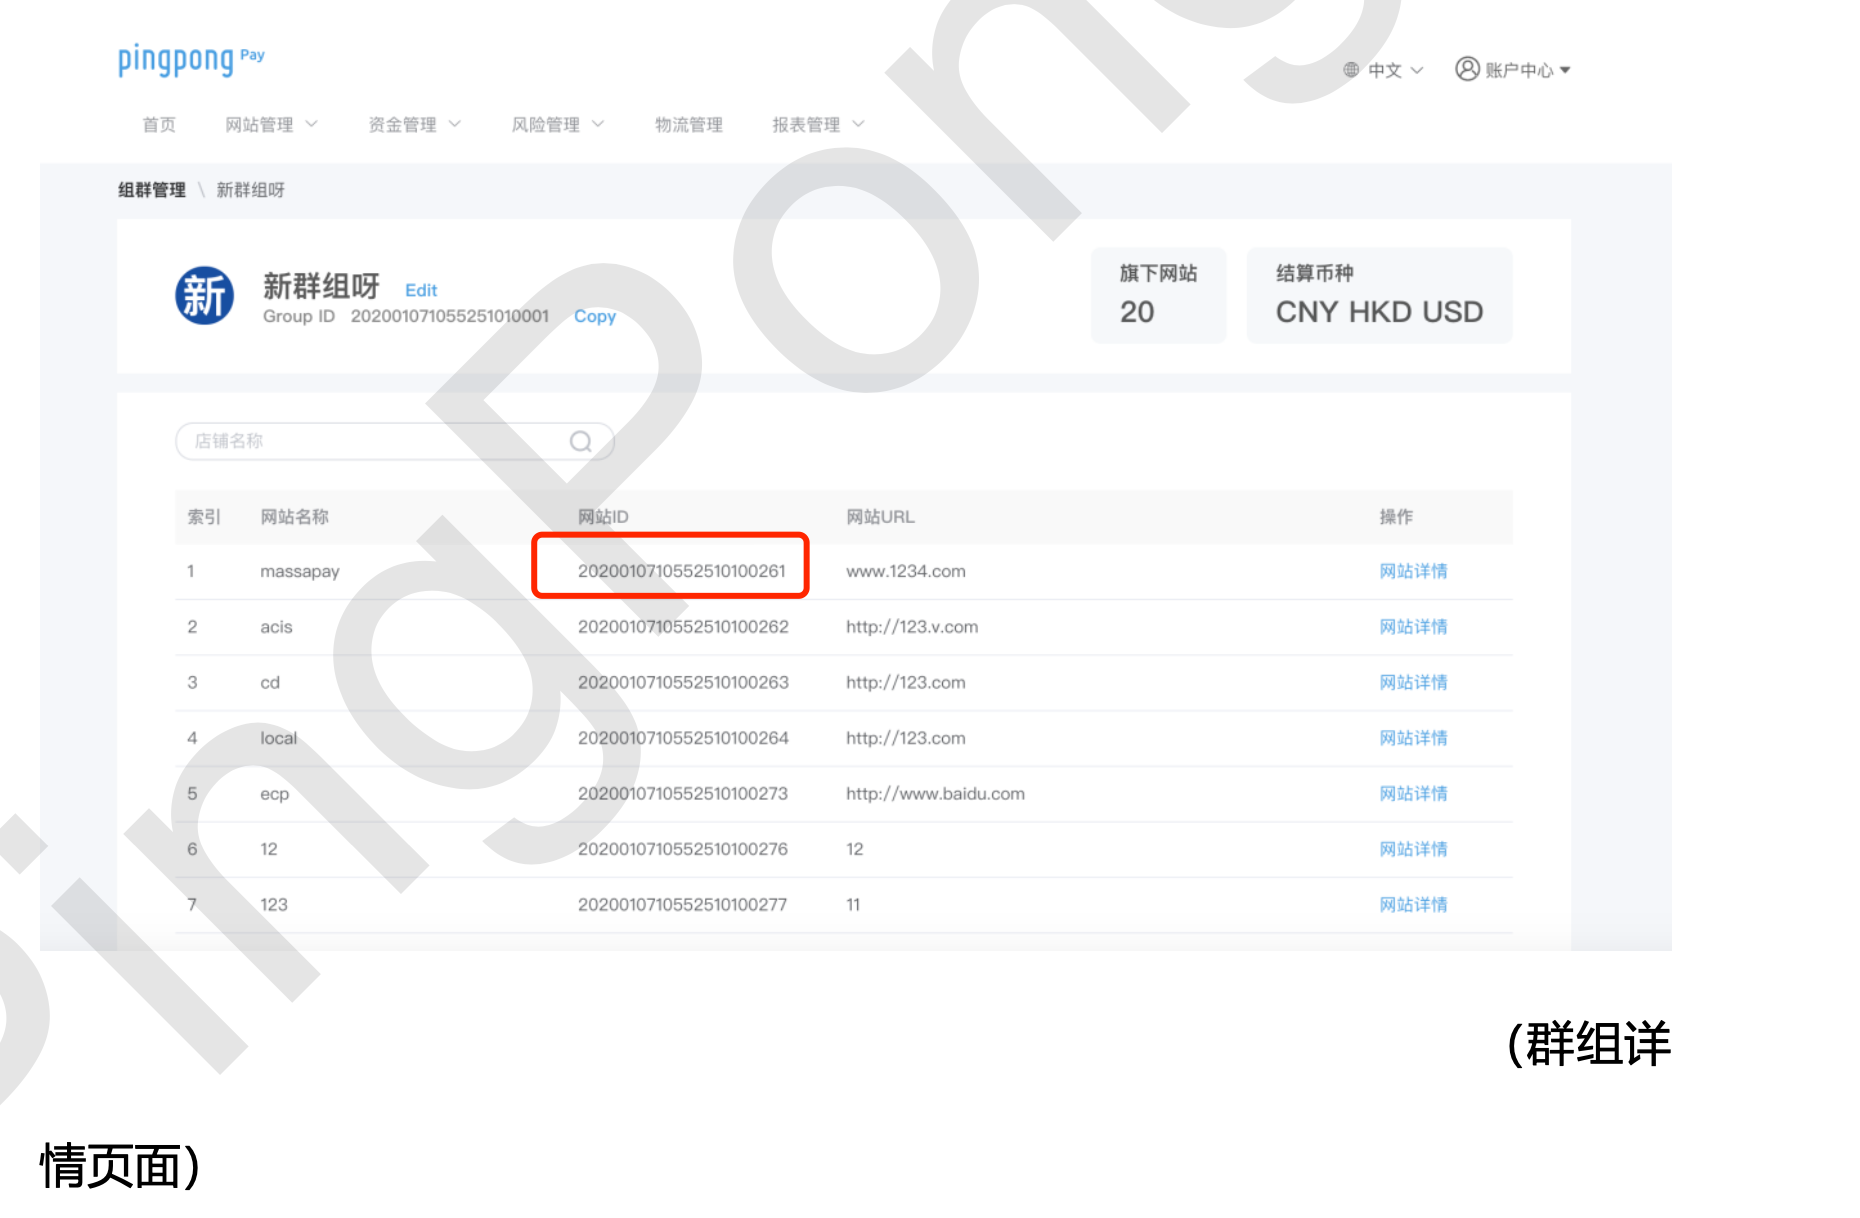
### Get accId for the corresponding domain website
### Get Secret Key
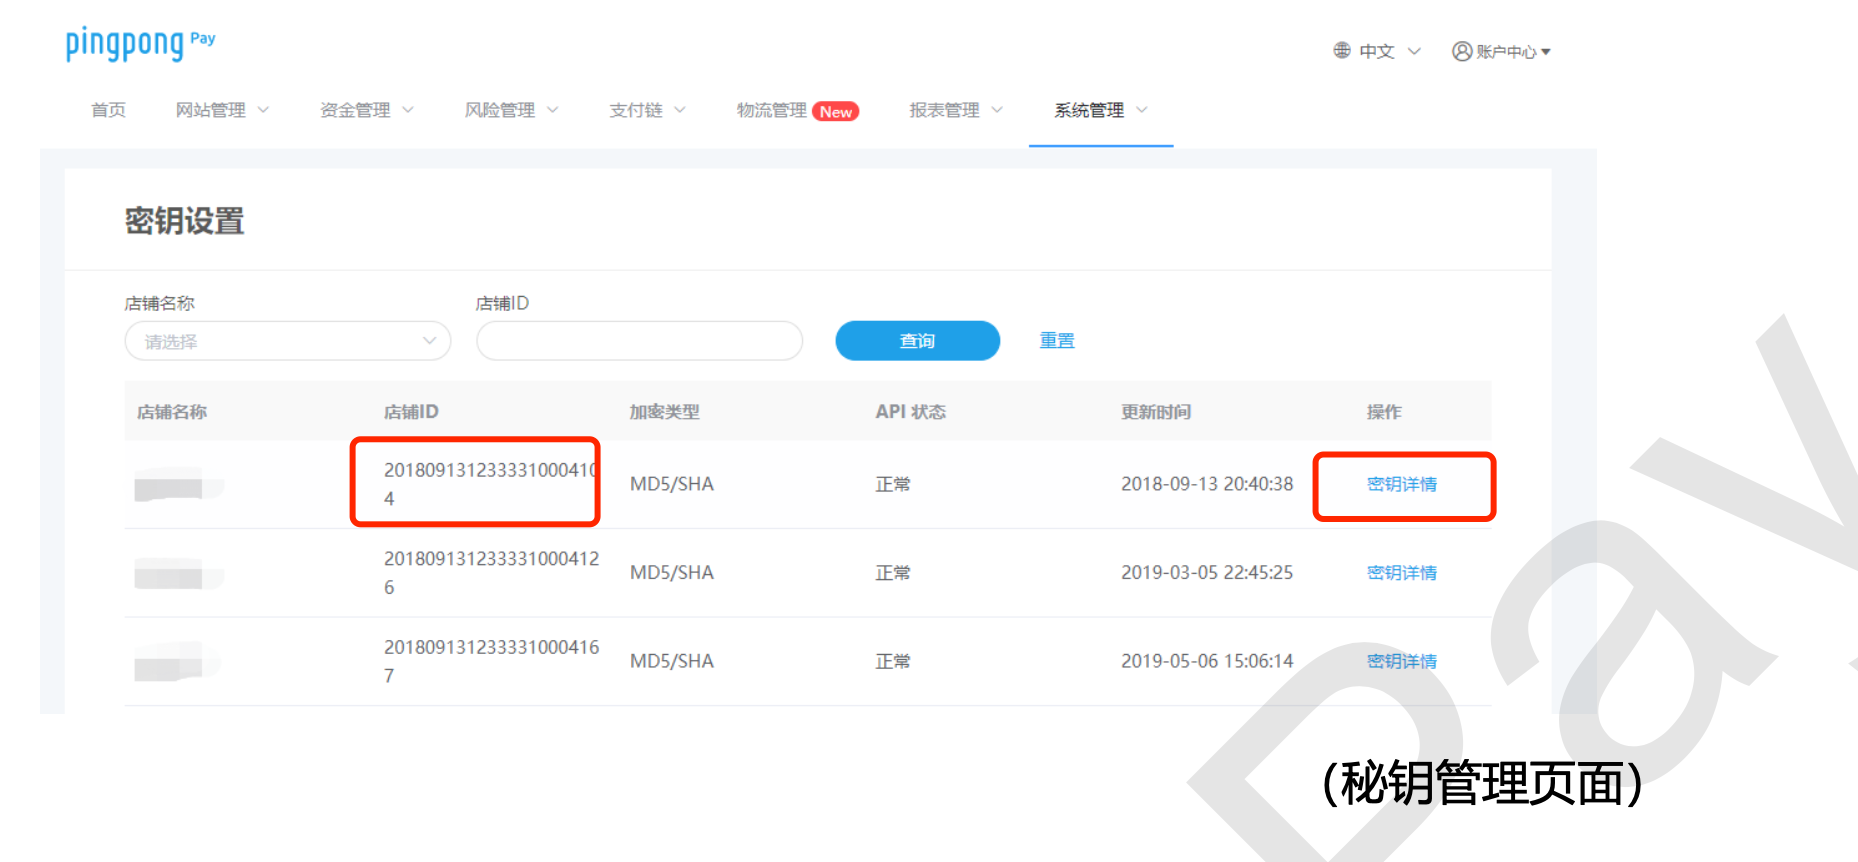
> Select [System Management] - [Secret Key Management] from the menu. By default, it enters the secret key management page, where you can view the website secret key.After entering secret key management, you can view the secret keys corresponding to all websites. Click "Secret Key Details" to view specific secret key fields.
> Secret keys with status "Normal" can be used. When the status is "Abnormal", they cannot be used and you can contact relevant business personnel for handling.